Eliminate impurities in kerosene:
Remove the wick and dry it on absorbent paper.
Drain the cartridge tank and the burner tank, wiping up any spilled kerosene.
Reinstall the wick.
Fill the tank with clean, pure K-1 low-sulfur kerosene or as recommended by the manufacturer. Recycle dirty fuel by calling your local hazardous waste recycler for instructions.
Burn off a kerosene heater’s carbonized wick to restore softness:
-Remove all the fuel from the tank or wait until the tank is empty.
-Turn the wick to its highest position. Light it with a match if you cannot light it automatically. Be sure the chimney is properly centered.
-Allow the wick to burn until the fire is completely out and no carbon remains on the wick.
-Remove any remaining ash with an old toothbrush.
-Vacuum away any residue or soot from the burner area.
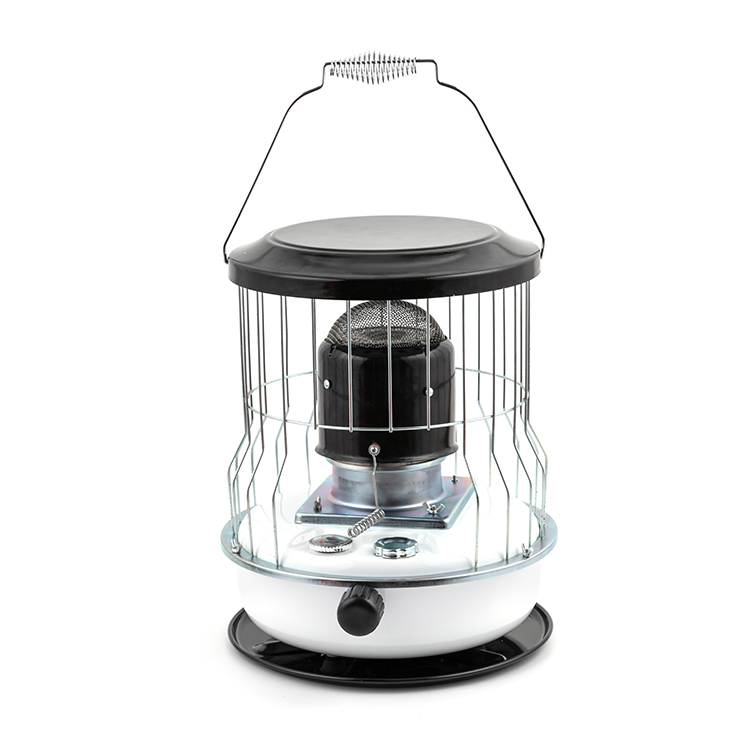
-Replace the kerosene heater wick on most kerosene heaters:
-Drain or burn off all the fuel in the tank and allow the heater to cool completely.
-Follow the manufacturer’s recommendation for activating the automatic shutoff. For many models simply hit the heater body with your hand.
-Remove the batteries.
-Open the front grille and remove the chimney.
-Remove the safety shutoff reset lever by pulling it straight out of the cabinet.
-Remove the cabinet.
-Slide the electrical wire connectors off the battery case.
-Remove the screws at the side of the extinguisher assembly and lift it out.
-Remove the wick adjuster mechanism by loosening the wing nuts until you can turn the retainers that hold it in place.
-Fold the wick and slide it out.
-To install the new wick, turn the wick adjuster counterclockwise as far as it will go.
-Fold the new wick and slide it into the adjuster. The red line on the outside of the wick should match the bottom edge of the adjuster.
-Turn the wick adjuster clockwise as far as it will go.
-Check the height of the wick, then press it against the teeth inside the adjuster to obtain a firm grip.
-Slide the rubber packing over the wick and allow the tails of the wick to drop down.
-Replace the wick and adjuster mechanism in the fuel tank, making sure the wick fits evenly in place.
-Position the adjuster knob to the front of the heater and tighten the wing nuts onto the retainers. Turn the knob clockwise and counterclockwise a few times to make sure the mechanism is functioning smoothly.
-Recheck the height of the wick. If it has changed, readjust it.
-Trim any ragged edges that appear at the top of the wick.
-Replace the cabinet on the fuel tank and reattach.
-Push the automatic shutoff reset lever into its slot. It will snap into place. Slide the lever fully to the left to reset the auto shutoff mechanism.
-Replace the chimney and snap the grille shut.
-Replace the batteries.
-Make sure the top of the wick is even and level.
-Wait about 20 minutes before lighting the heater to allow the fuel to saturate the wick. Don’t cut, pull, or soil the new wick.
If you are interested in our products or have any questions, please feel free to contact us and we will reply you within 24 hours.